
The Manual Step That’s Gone
Your Inventory, Photos Included
Here is how one international mover was building his working spreadsheet before this release. Open the walkthrough video. Pause it. Screenshot the item. Paste the screenshot into a sheet. Type the description next to it. Move to the next item. Repeat, for every survey.
His team runs one spreadsheet for two jobs: reviewing insurance valuations with the customer, and handing a packing list to the crew with notes on anything that needs special handling. Both jobs need the picture and the description side by side. The product had both. It just had no way to hand them over together.
Now it does. Open … More and, under Export as, next to CSV, there is Excel (with photos). The file has one row per item with the item’s photo embedded in the row, beside its description, quantities, volume, weight and tags.
No pausing the video.
No screenshotting your own survey.
The photo is already in the row.
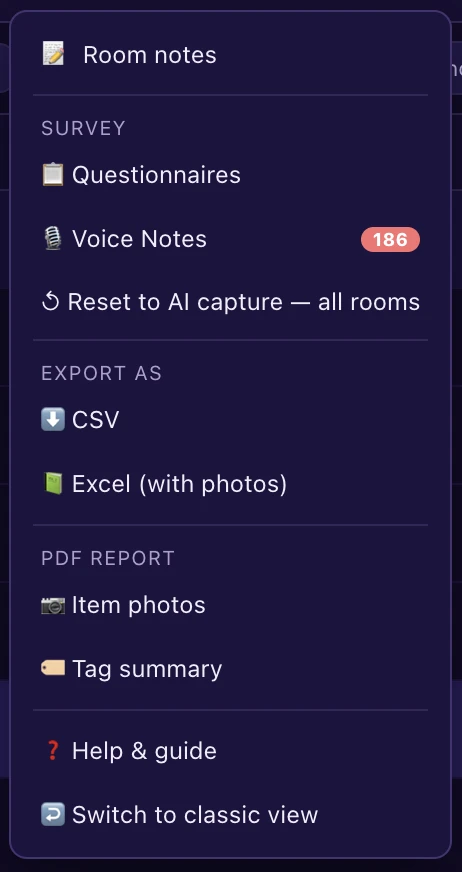
Excel sits next to CSV under Export as.
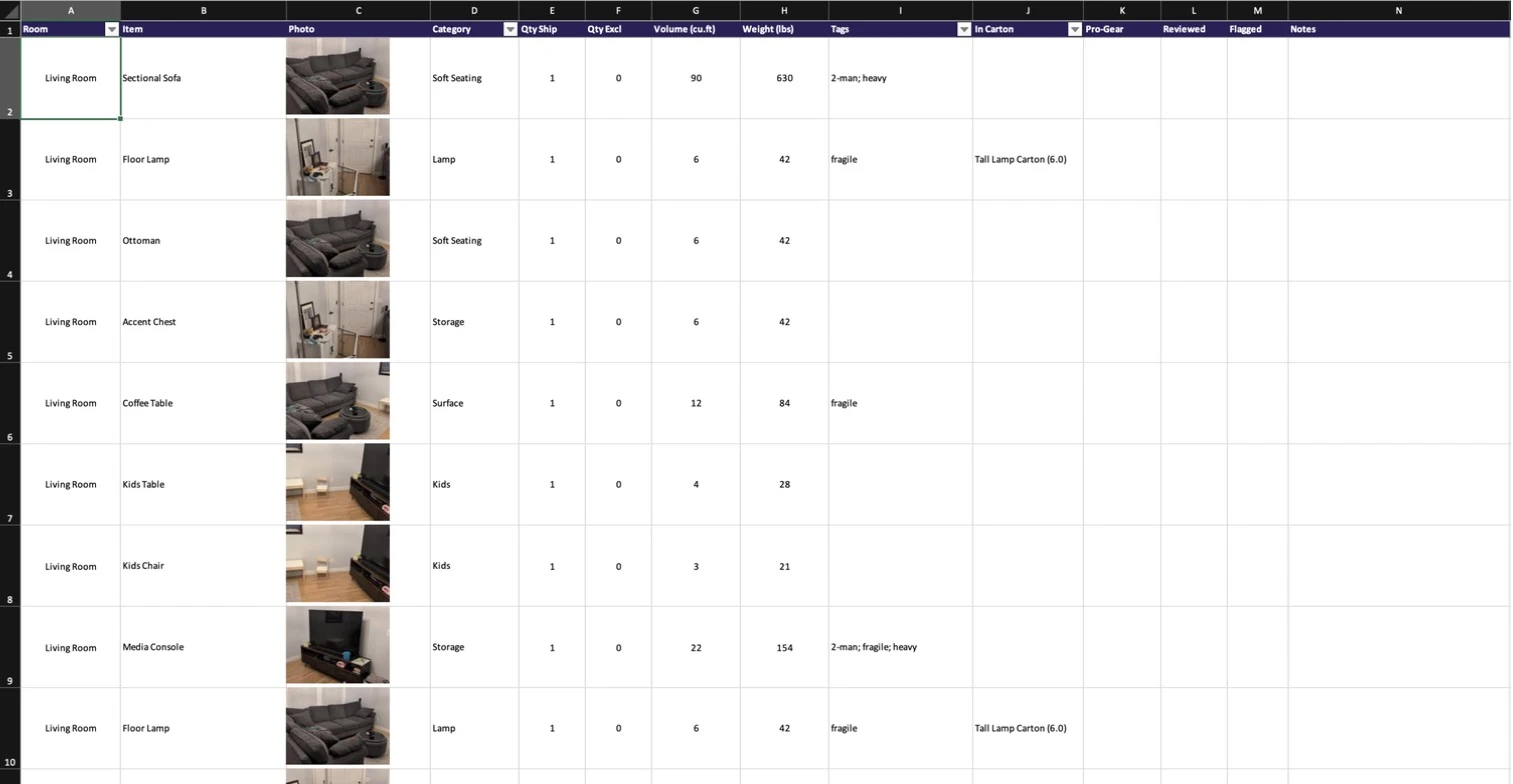
One row per item, photo included, opened straight from the export.
Fourteen columns, in this order: Room, Item, Photo, Category, Qty Ship, Qty Excl, Volume, Weight, Tags, In Carton, Pro-Gear, Reviewed, Flagged, Notes. The header row comes with filters, so narrowing to one room or one tag is a click, not a formula. Quantities, volume and weight are real numbers, so a column total just works.
After the Review
Did It Book?
A survey used to end at the inventory. What happened next, what you quoted and whether they went with you, lived in somebody’s head or in another system. Standalone now keeps it on the survey itself: Quoted Amount, Move Date, Booked and Booked Date.
Move Date can be set right at the start, alongside the customer’s name and email when you generate the survey link. It is optional if you don’t know it yet.
Afterwards, the survey row’s Actions menu opens Edit Info, where quoted amount, move date and booked status can be added or changed. Booked Date fills itself in the moment you tick Booked.
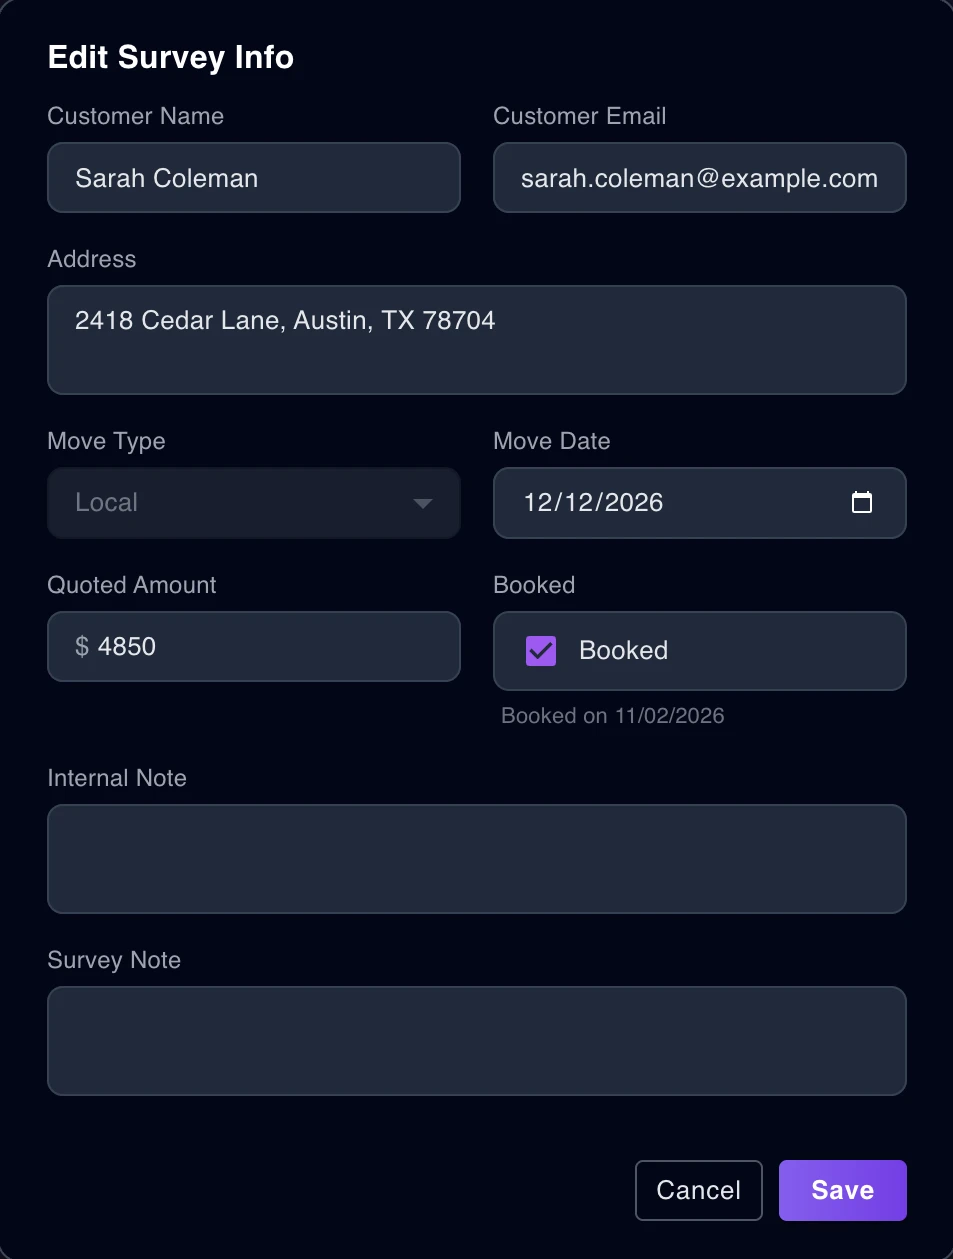
Quoted amount, move date and booked status, on the survey instead of in someone's head.
The same fields appear in the Review Complete window, right where you download or email the PDF. Fill them in if you have them, skip them if you don’t.
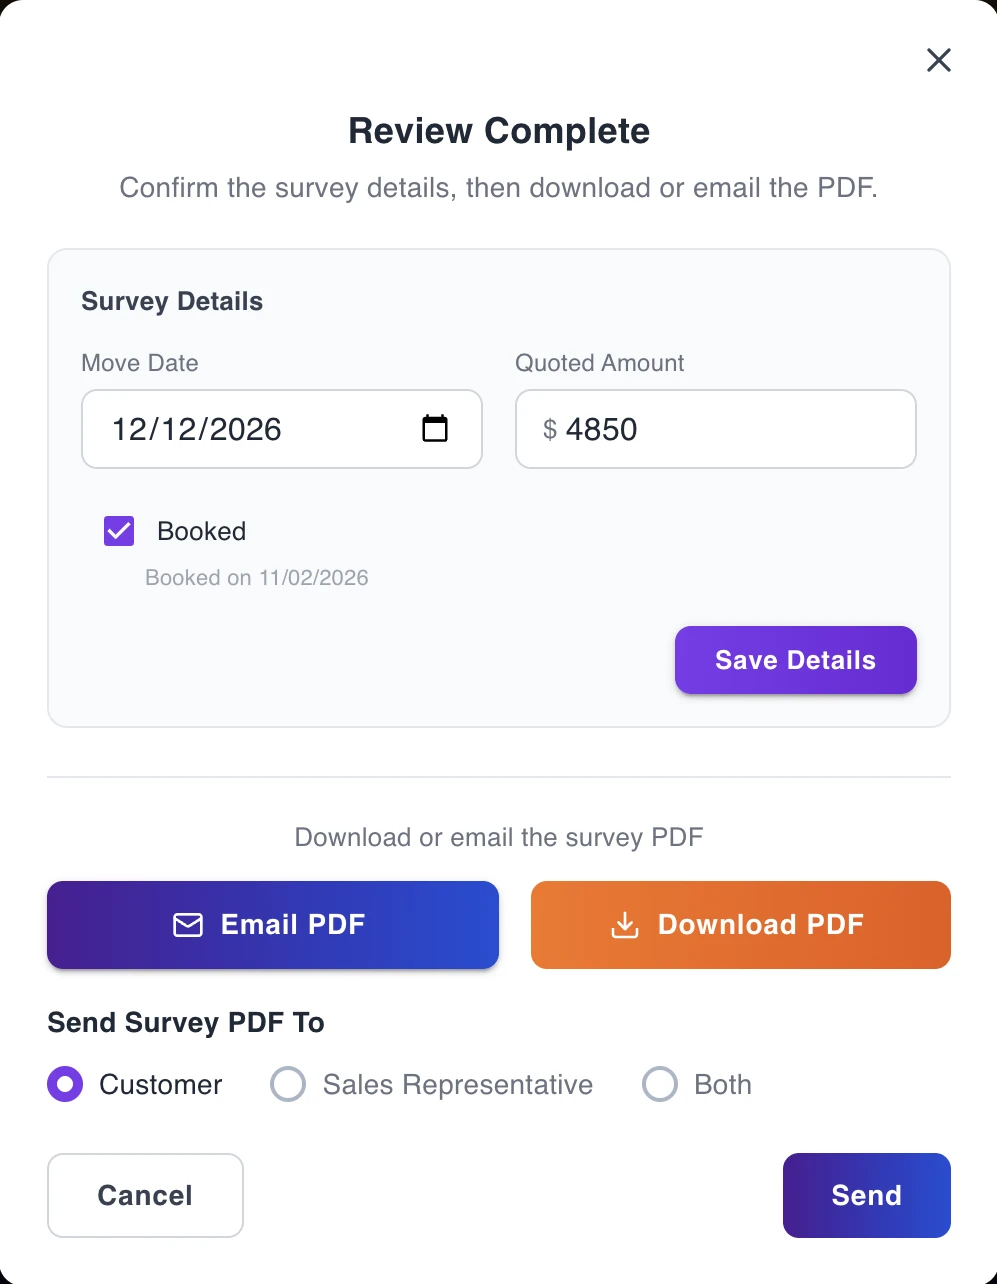
Log the outcome at the moment you send the report.
Your Numbers, Laid Out
Statistics That Explain Themselves
The Statistics row on the standalone dashboard now reads left to right the way the work happens: Customer Links Sent, Customer Surveys Completed, Survey Conversion, Generated by AI, Reviewed by User and Survey Balance.
Generated by AI covers both sides of the work: surveys your customers complete and surveys your reps complete. Hover over the card to see the split, so you know where your inventories are coming from.

Hover Generated by AI for the split between customer and rep surveys.
Also in September
Co-Reviews You Can Find, Links That Clean Up After Themselves
Review Together Badge
Surveys you co-reviewed with the customer carry a badge on the survey list, with a filter to show only those. Expand the row for the date of the most recent session.
Unused Links Refund Their Credit
A survey link that is never used now expires after 30 days instead of staying open forever, and the credit it used goes back to your balance.
Uploaded Photos Save
Photos you upload onto an item yourself now save reliably.
The Review Together filter is the useful half of that first one. Once co-review becomes something you do on the deals that matter, the survey list is where you go to find which ones those were.
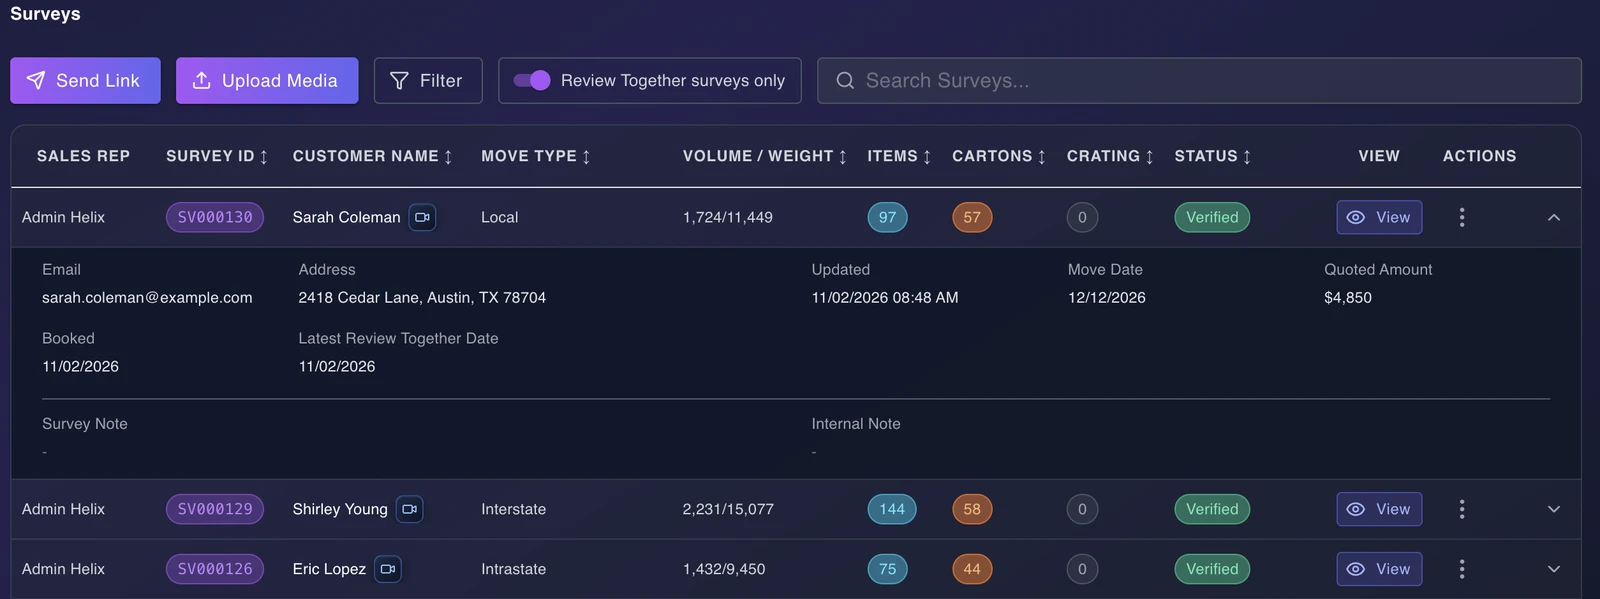
The switch narrows the list to co-reviewed surveys. Expand a row for the latest session date.
Stop rebuilding your own survey by hand.
Run a survey, export it to Excel, and hand the crew a sheet that already has the pictures in it. Your first 10 surveys are on us.
Start Your Free Trial